To celebrate the holiday, we're re-sharing...
making geese.

Flying geese are a classic block component regardless of quilting style, and like most things there are several ways to make them. Here are the four methods to get you started. Depending on the situation, one technique may work better than others.
A few things to note on sizing first: A traditional flying goose is always 2x as wide as it is tall. 2x4, 3x6, etc. and standard seam allowances apply. I ALWAYS oversize my geese and trim them down after. I've found that no matter how careful I am they never turn out quite right if I start with the minimum fabric sizes.
Traditional method. One at a time.
This method starts with rectilinear pieces to make one goose at a time. It works great for scrappy geese and can use smaller pieces of fabric.
For the goose: 1 rectangle. Finished width x height + 1/2" each direction
For the sky: 2 squares. Finished height + 1/2"
For my 3"x 6" geese, I'm oversizing my fabric to 3 3/4" x 6 3/4" and 3 3/4" square.

Draw a diagonal line on the back of the each of the two squares. (I use Pilot Frixion pens. The ink disappears when ironed.)

Lay one square on the rectangle RST, aligned to one side, with the diagonal line running from the bottom corner to top center.

Stitch on the line. Trim the corner with a 1/4" seam allowance.

Press the corner open. Repeat on the opposite side of the rectangle.

I trim my geese using a Bloc-Loc ruler, made specifically for this purpose. This ruler has grooves on the backside that nest with the seams and keep the ruler in perfect alignment.


One at a time using a flying geese ruler.
If trimming off those corners all having little triangle scraps makes you cringe, there are also speciality rulers for cutting standard sizes of geese. This method cuts multiple geese and sky pieces from strips measuring the height of the block + 1/2". Assembly is essentially the same, but instead of stitching on a diagonal line, a standard 1/4" seam is used.


Four at a time, no waste method.
This is my favorite way to make multiple identical geese. BUT each goose will be facing a different way - so if a fabric has a clear direction (and you care) this is not the way to go. It's also possible to mix things up a bit, by substituting in different fabrics for the sky squares here and there.
For the goose: 1 square. Finished width + 1 1/4"
For the sky: 4 squares. Finished height + 7/8"
NOTE: These are minimum dimensions. I recommend adding 1/4" +/- to each to allow for trimming.
For my 3 x 6 geese, I used a 7 1/2" square for the goose and 4 1/8" squares for the sky.

Draw a diagonal line on the back of each of the small squares. Align two small squares corner to corner as shown.

Stitch 1/4" to either side of the line. Cut on the line.

Press open.

Align a third square to the remaining full corner with the diagonal line starting in the the corner.

Stitch 1/4" to either side of this line. Cut apart on the line. Press open. Repeat for the second half.

Trim as needed.


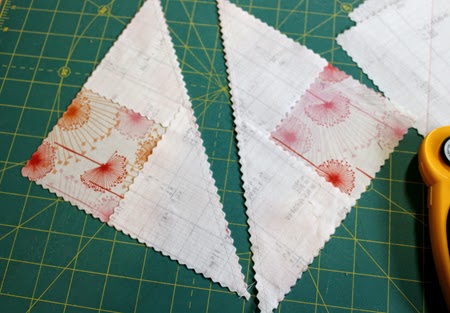
Tip: If sewing geese together tip-to-tail, keep the tip portion facing up as you sew, the new seam line should pass exactly through the intersection of the diagonal seams.

Paper piecing.
Paper piecing can be used to piece multiple geese together in a row and get those perfect points. It works for both scrappy and identical geese. I will confess, this is my least favorite method for traditional-sized geese. I find the stitch, trim, flip, press, repeat a bit slow and tedious, not to mention the mess of removing the paper. However, it works great for geese that are stretched either tall or wide and don’t conform to the typical proportions.
There are many good paper-piecing instructions available, so I won't go into detail here. In general, start at the bottom with piece one, and add fabrics sequentially. Most paper piecing patterns will be numbered.
Align fabrics right sides together and stitch on the line, paper side up. Fold back the paper at the stitch line to trim to a 1/4" seam. Fold paper back into place. Flip the fabric open, press. Repeat.


Take care to always test-flip and make sure the fabric covers the template with some room to spare and start with generously sized fabric pieces. It's easy to be off - you'll see where I missed with the sky on the left hand side mid-block!
Download my template for four 3x6 geese here. Print with no scaling on a legal sized sheet (8 1/2" x 14") or larger.
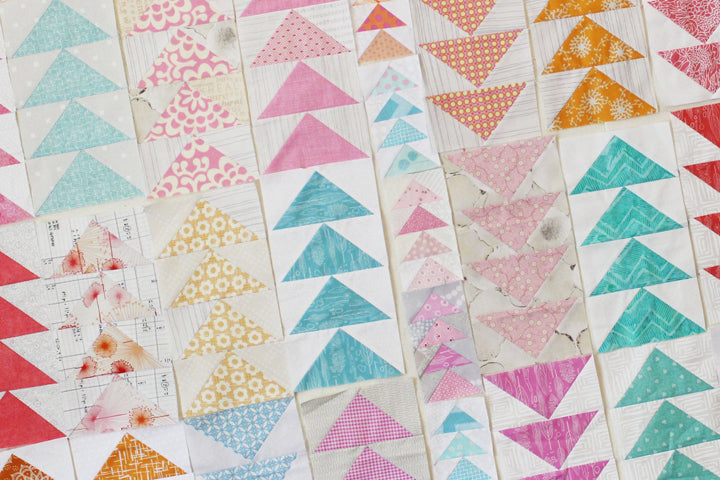
And here's my finished flock!

Do you have a favorite method to make geese? Please share!


